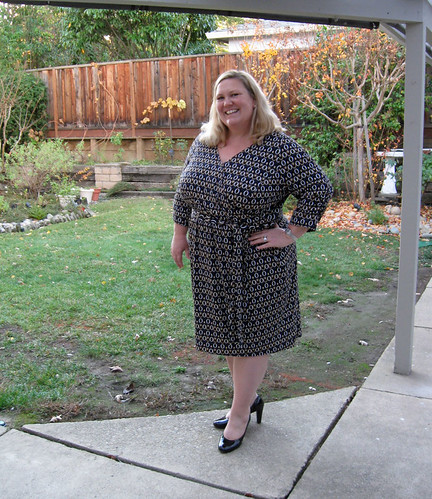
Hmm.....I have doubts. On this one. Which is so unusual for me. Maybe its the fact that I sewed up this dress just as autumn is tiptoeing into the area - although today it was around 88˚F, a shorts and t-shirt kind of day so what am I talking about?
For some reason when this pattern was released I was instantly drawn to it and just had to sew it up this summer. Vogue 1448, a DKNY design. So I did, and now I have doubts. Which is a rare thing for me. Usually I know exactly what I am making and either like, really really like or absolutely love. I wonder what it is about this dress? Another thought, typically when I sew a new pattern I can visualize where I would wear it. Casual clothes - no brainer. A more formal dress - ready for a party invite. Classic blazer - wear all winter long. But while I sewed this one I just couldn't picture where I would wear it.
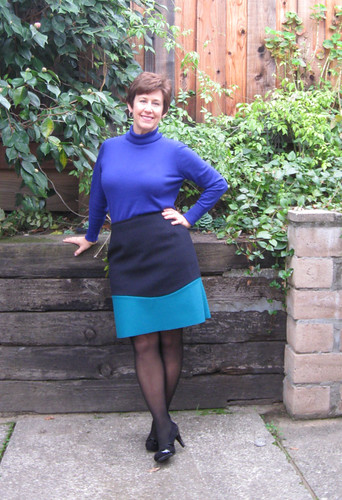
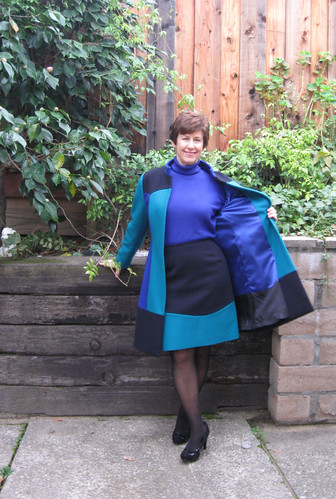
and a little caveat - I took these photos in my sewing room with the camera timer late one afternoon in a fit of uncertainty. So maybe just a little awkward? Also I lightened them up a bit because of the afternoon shadows and now my skin looks weird.
Anyway...
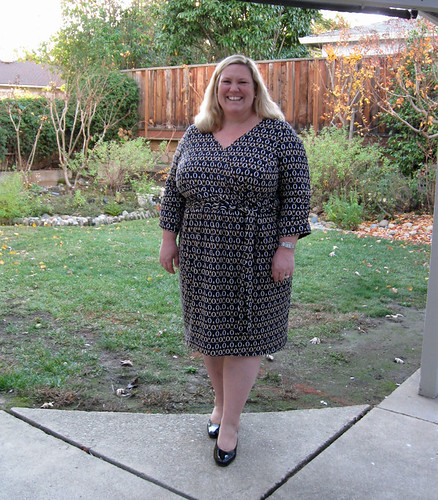
![V1448 dress on me3]()
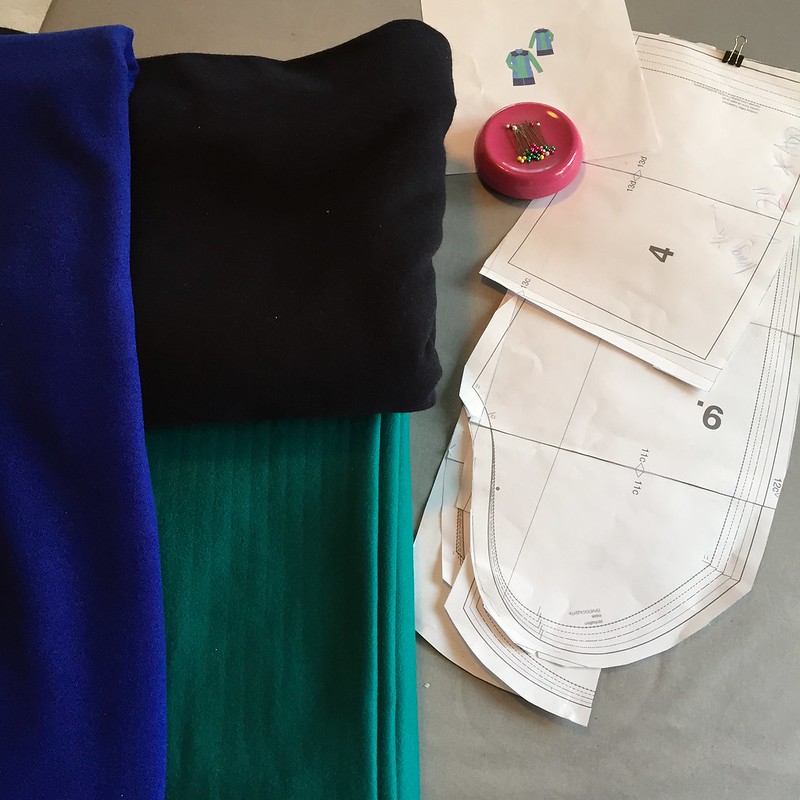
One reason is fabric choice. And I'm not sure if it's the fabric in general, or the choice of this fabric with this dress. Looking at the fabric I do like it, but it's a bit muted for me. In a top to wear with jeans or something it would have been good. This dress is a fabric hog, it takes 3.5 yards of 60" for size 12. That is a lot for a dress for me - I can usually get a sleeveless dress for my not tall frame onto one yard or so. Consequently I ordered some fabric from Girl Charlee to use. Total fabric investment about $ 18 so I can't complain there. But that should have been a hint - that I was willing to sew it up - mostly for the fun of seeing how it all went together - but not willing to splash out on a $10 - $20 yard fabric.
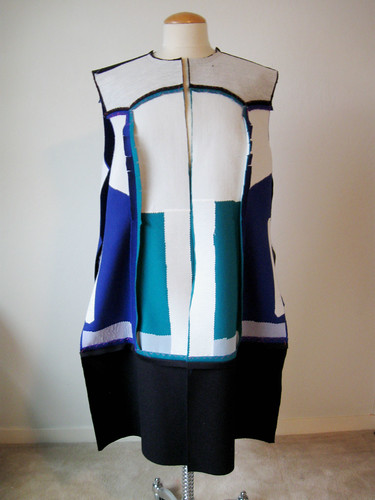
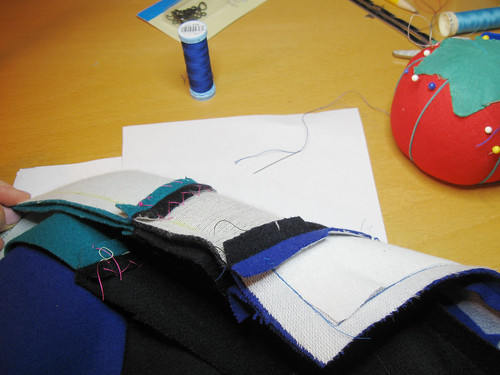
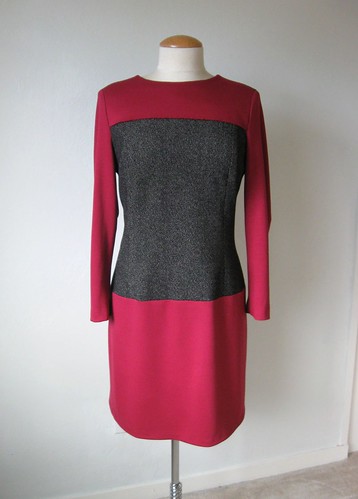
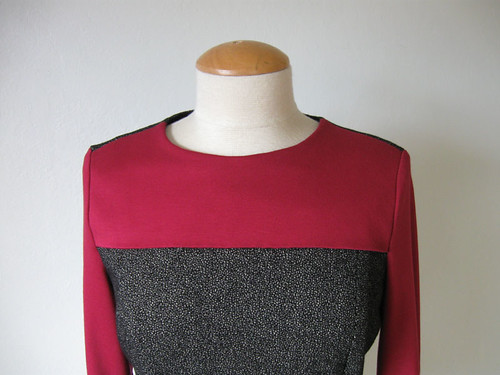
How about some details? Here is the dress on the form. I had to do some adjustments to get a fit on the bodice and am quite happy with those adjustments. But this is one of those dresses where I think a lot of people might be unhappy with the final fit if no adjustments had been done. Details below.
![V1448 knit dress on form front]()
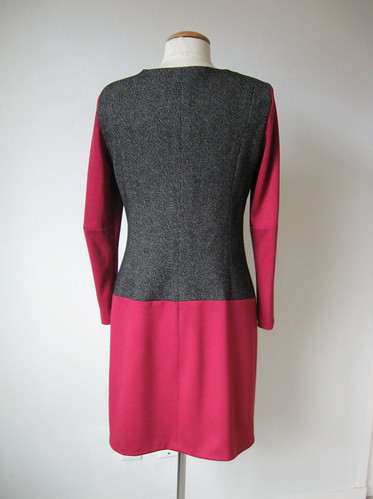
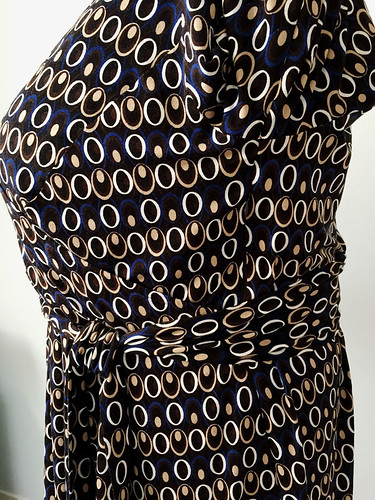
and back view. With the self-fabric belt tied a bit snug on the dress form so you can see that it is supposed to blouse above the back waist. There is actually elastic just at the center back waist to pull it into the body.
![V1448 dress on form back]()
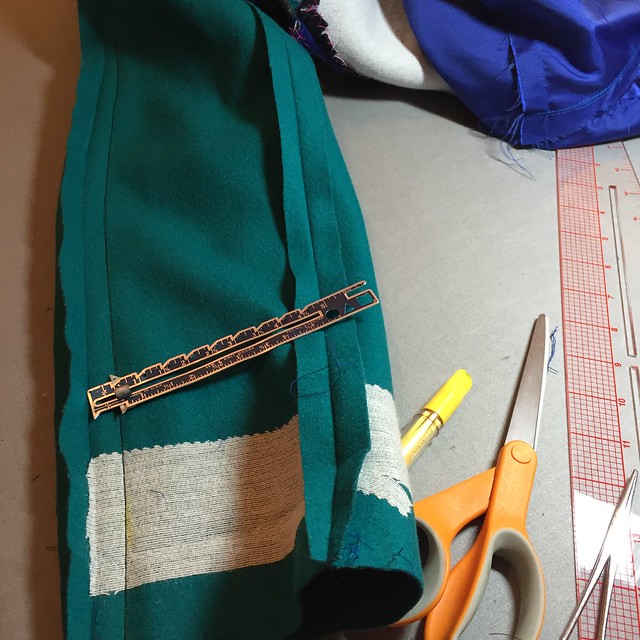
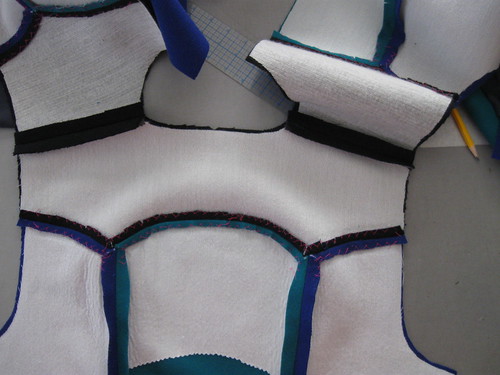
Ok let's get down to the fitting details.
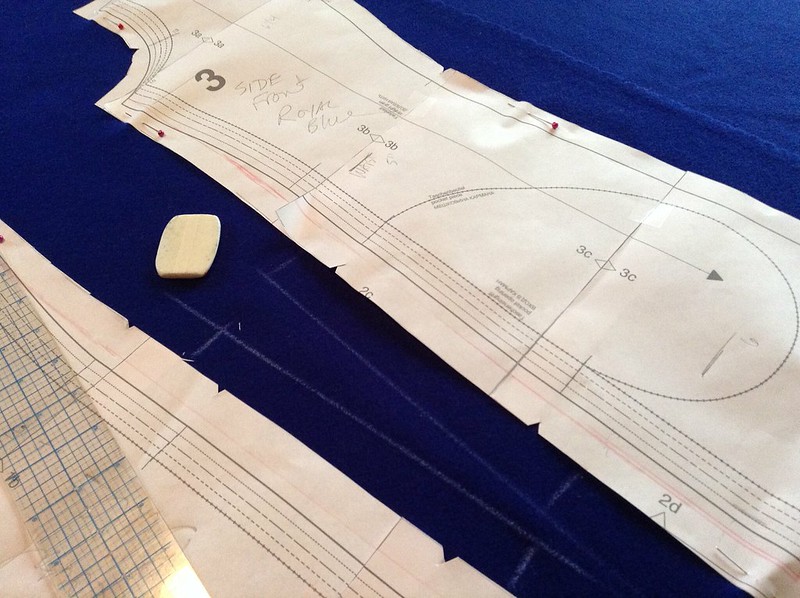
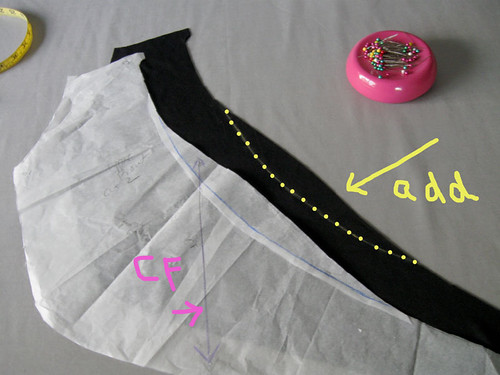
![Pattern alterations Vogue 1448]()
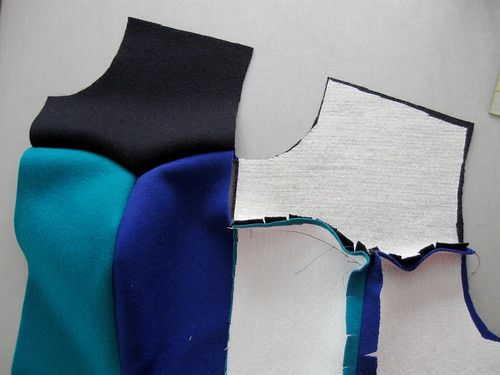
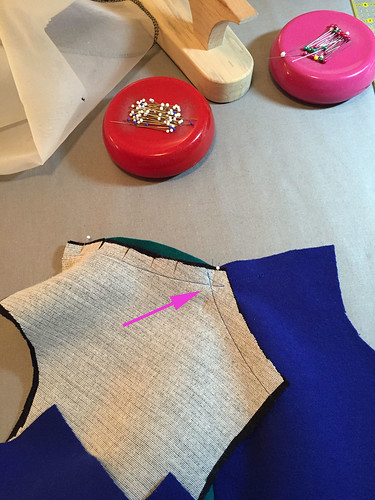
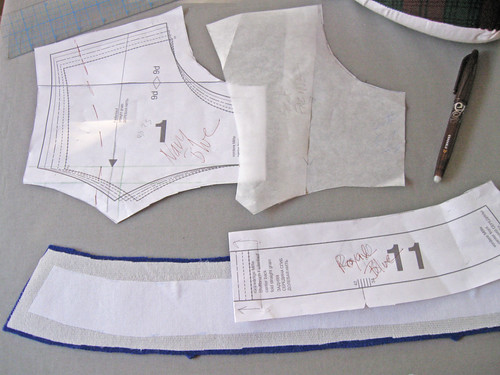
I did make a muslin of these two pieces - that's all I needed. That skirt would fit in any case so I just used some white knit fabric I found at a garage sale for the bodice parts.
Firstly, I used a size 12 and tapered to a size 14 at the waist, which was unnecessary. Since it is gathered at the waist I ended up removing that at the waist.
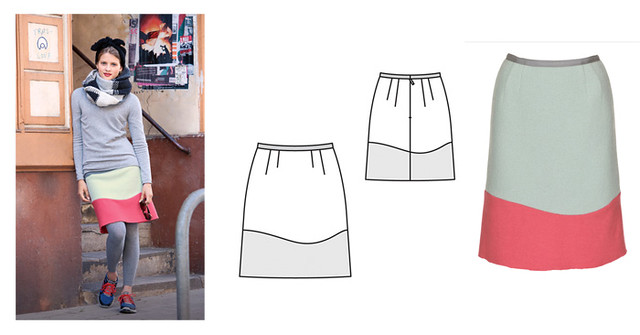
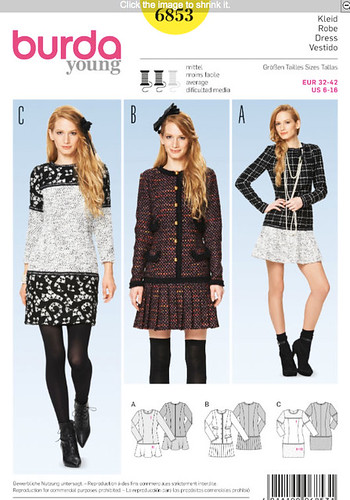
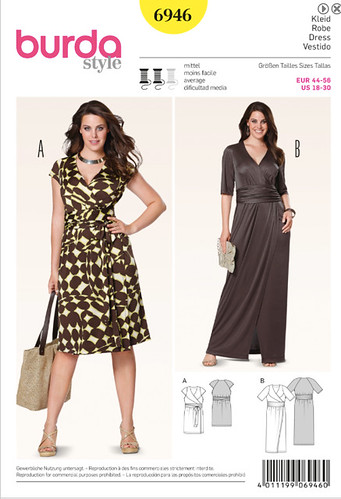
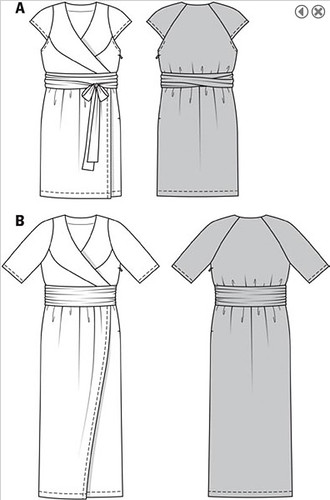
Here is the pattern envelope photo and technical drawing. Now looking at it again perhaps it is veering close to a ruffle. I am not super into ruffles. Although a nice flounce - that I do like, as evidenced by this Pauline Alice pattern sewn earlier this summer. But a ruffle skirt just seems a bit prairie girl dress. On the envelope it looks better. I think the example is a chiffon or very lightweight fabric. Although the skirt is not lined - so the double layer of the fabric has to do some work to make it, shall we say, ladylike?
![V1448 pattern envelope and drawing]()
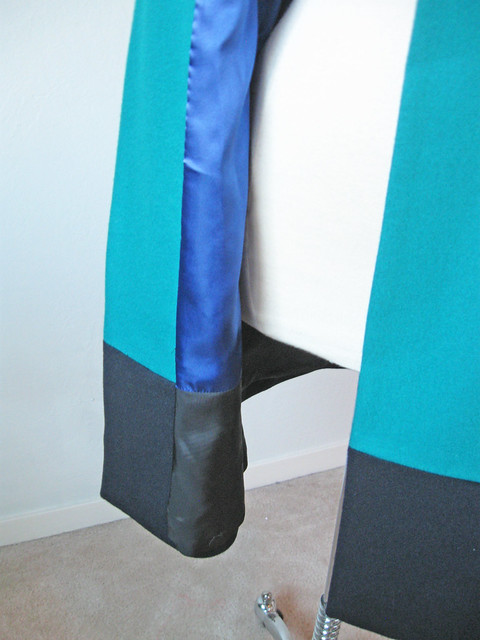
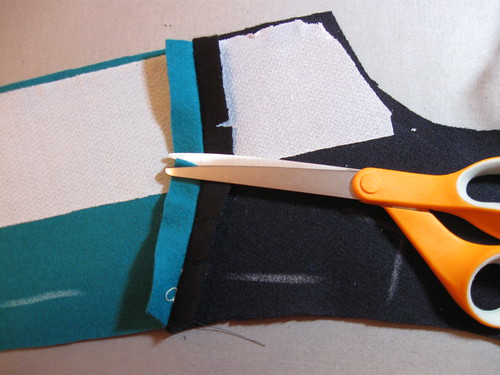
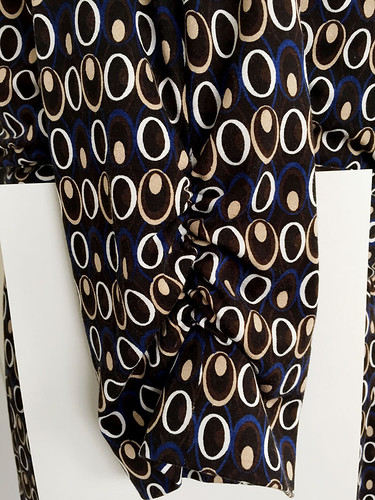
I have no complaints about these clever pockets, though. They are hidden in the ruffles and droop a bit on the dress form but as worn are smooth and don't stick out. Oh, another thing - this dress is not hemmed and I think on anyone taller it would be quite short (another typical Vogue designer thing). I figured the flounces didn't need hemming either, as this is a jersey knit and they are round so all bias edges but actually kind of disappeared on the skirt without any hem. The small stitched hem was enough to make them show up so that is something to keep in mind.
![V1448 skirt close up]()
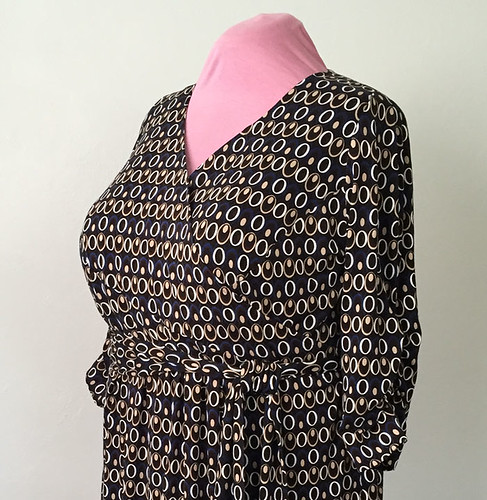
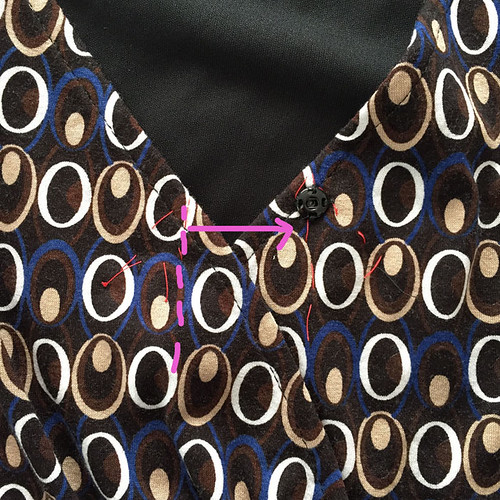
and a look at the bodice. Featuring my blue leather belt which lives in the sewing room. Kind of amazing how many of my creations that it matches, which might say something about my restricted color palette. Or that blue goes with anything :) This fabric is a navy blue background with little pink, grey and magenta abstract spots. The bodice is lined with knit fabric. There is info on knit linings in my recent post.
![V1448 bodice close up]()
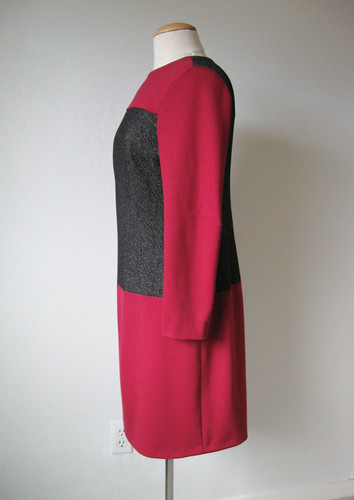
![V1448 dress on form side]()
See, kind of odd from the side. Also I thought it was a bit strange that the ruffle things didn't match at the side seams. And I know I didn't sew it wrong so that was the design.
Here's one with the belt instead of the self-fabric tie. I actually like the belt, maybe it makes it a bit less girly? which is not the intent. Ack - I dunno. Anyway this is going into the closet with the other summer stuff and we will give it a try next spring.
![Vogue 1448 jersey dress worn with belt]()
This is my favorite picture of the day. I rolled my sewing worktable across the room so I could stand against the blank wall and take a mirror shot. Forgetting that everything behind the mirror is also in the camera's view. So real life sewing room, or portion thereof. including my Singer Rocketeer which everyone seems to notice in pictures. iPad on the table because who can sew without constantly checking up on the sewing blogosphere. Sneakers discarded, a muslin of Sewaholic Alma blouse hanging on the door which I am sewing for someone else. My very ugly floor lamp which I usually hide if anyone comes over but it takes a 3-way bulb so nice and bright. TV remotes on the desk because if not listening to podcasts then catching up on TV. The teal blue trays on the desk which are super handy for keeping all my tools in and then I can move them around the room. And most importantly my glasses because you know, sewing.
![Vogue candid view sewing room]()
So that's the latest. I think I had better make a hard right turn into Fall Sewing. One of these days around here it will be frosty in the morning and thus turtleneck + boots weather. Not that I want it. Just tolerate. However if we have a nice rainy winter I will be thrilled.
Happy weekend sewing - and be careful as there are a lot of desperate folks (read non-sewers) on the hunt for Halloween costume fabrics this month.
Beth
![Succulent]()
For some reason when this pattern was released I was instantly drawn to it and just had to sew it up this summer. Vogue 1448, a DKNY design. So I did, and now I have doubts. Which is a rare thing for me. Usually I know exactly what I am making and either like, really really like or absolutely love. I wonder what it is about this dress? Another thought, typically when I sew a new pattern I can visualize where I would wear it. Casual clothes - no brainer. A more formal dress - ready for a party invite. Classic blazer - wear all winter long. But while I sewed this one I just couldn't picture where I would wear it.
and a little caveat - I took these photos in my sewing room with the camera timer late one afternoon in a fit of uncertainty. So maybe just a little awkward? Also I lightened them up a bit because of the afternoon shadows and now my skin looks weird.
Anyway...

One reason is fabric choice. And I'm not sure if it's the fabric in general, or the choice of this fabric with this dress. Looking at the fabric I do like it, but it's a bit muted for me. In a top to wear with jeans or something it would have been good. This dress is a fabric hog, it takes 3.5 yards of 60" for size 12. That is a lot for a dress for me - I can usually get a sleeveless dress for my not tall frame onto one yard or so. Consequently I ordered some fabric from Girl Charlee to use. Total fabric investment about $ 18 so I can't complain there. But that should have been a hint - that I was willing to sew it up - mostly for the fun of seeing how it all went together - but not willing to splash out on a $10 - $20 yard fabric.
How about some details? Here is the dress on the form. I had to do some adjustments to get a fit on the bodice and am quite happy with those adjustments. But this is one of those dresses where I think a lot of people might be unhappy with the final fit if no adjustments had been done. Details below.

and back view. With the self-fabric belt tied a bit snug on the dress form so you can see that it is supposed to blouse above the back waist. There is actually elastic just at the center back waist to pull it into the body.

Ok let's get down to the fitting details.

I did make a muslin of these two pieces - that's all I needed. That skirt would fit in any case so I just used some white knit fabric I found at a garage sale for the bodice parts.
Firstly, I used a size 12 and tapered to a size 14 at the waist, which was unnecessary. Since it is gathered at the waist I ended up removing that at the waist.
- Reduced the center back by about 1 inch at neckline tapering to about 3/8 inch at waist. When I cut it out I added back a tiny bit at the top so more like 3/4 inch.
- Shortened the back waist length by 1/2 inch. Usually I take away more here but I didn't want to eliminate the blousing at the back waist.
- Lengthened the front bodice by 1 inch so the waist wouldn't ride up towards the bust. I used my gather the front into the back as if it were a hidden dart technique used also here (and explained)
- Adjusted the wrap portion at the center front, changing the straight line to a curved one which adds a bit a the center overlap, I like the front to have a bit of a curve this way and find it makes any wrap much easier to wear. Had I not done this it would have been very low. As a lot of these Vogue designer patterns are. Maybe if you are a 6 foot tall glamazon it works but not on short me.
- Raised underarm by about 3/4 inch. Maybe I have short arm depth? Is that a thing? or is it the armholes on these patterns? probably a combo but I find on a lot of the Vogue patterns if I raise the armhole it is much better, and if too high it is easy to take away.
Here is the pattern envelope photo and technical drawing. Now looking at it again perhaps it is veering close to a ruffle. I am not super into ruffles. Although a nice flounce - that I do like, as evidenced by this Pauline Alice pattern sewn earlier this summer. But a ruffle skirt just seems a bit prairie girl dress. On the envelope it looks better. I think the example is a chiffon or very lightweight fabric. Although the skirt is not lined - so the double layer of the fabric has to do some work to make it, shall we say, ladylike?

I have no complaints about these clever pockets, though. They are hidden in the ruffles and droop a bit on the dress form but as worn are smooth and don't stick out. Oh, another thing - this dress is not hemmed and I think on anyone taller it would be quite short (another typical Vogue designer thing). I figured the flounces didn't need hemming either, as this is a jersey knit and they are round so all bias edges but actually kind of disappeared on the skirt without any hem. The small stitched hem was enough to make them show up so that is something to keep in mind.

and a look at the bodice. Featuring my blue leather belt which lives in the sewing room. Kind of amazing how many of my creations that it matches, which might say something about my restricted color palette. Or that blue goes with anything :) This fabric is a navy blue background with little pink, grey and magenta abstract spots. The bodice is lined with knit fabric. There is info on knit linings in my recent post.


See, kind of odd from the side. Also I thought it was a bit strange that the ruffle things didn't match at the side seams. And I know I didn't sew it wrong so that was the design.
Here's one with the belt instead of the self-fabric tie. I actually like the belt, maybe it makes it a bit less girly? which is not the intent. Ack - I dunno. Anyway this is going into the closet with the other summer stuff and we will give it a try next spring.

This is my favorite picture of the day. I rolled my sewing worktable across the room so I could stand against the blank wall and take a mirror shot. Forgetting that everything behind the mirror is also in the camera's view. So real life sewing room, or portion thereof. including my Singer Rocketeer which everyone seems to notice in pictures. iPad on the table because who can sew without constantly checking up on the sewing blogosphere. Sneakers discarded, a muslin of Sewaholic Alma blouse hanging on the door which I am sewing for someone else. My very ugly floor lamp which I usually hide if anyone comes over but it takes a 3-way bulb so nice and bright. TV remotes on the desk because if not listening to podcasts then catching up on TV. The teal blue trays on the desk which are super handy for keeping all my tools in and then I can move them around the room. And most importantly my glasses because you know, sewing.

So that's the latest. I think I had better make a hard right turn into Fall Sewing. One of these days around here it will be frosty in the morning and thus turtleneck + boots weather. Not that I want it. Just tolerate. However if we have a nice rainy winter I will be thrilled.
Happy weekend sewing - and be careful as there are a lot of desperate folks (read non-sewers) on the hunt for Halloween costume fabrics this month.
Beth
For my garden photo today - speaking of desperate - it is so dry, even the trees are starting to look a bit exhausted. I am worried about the lemons and hope we get a good drenching soon.
So how about a succulent - although I'm not exactly sure what this is. The plant in the background is definitely a succulent though.